In short
- Downward-Facing Dog and Legs-Up-the-Wall are the accessible entry points. Most people can practice them from the start.
- Dolphin builds the shoulder strength and stability needed for forearm stand and headstand.
- Shoulder stand, plow, headstand and forearm stand place real load on the neck or shoulders. Learn them with a qualified teacher before practicing alone.
- Avoid full inversions with glaucoma or other eye pressure problems, uncontrolled high blood pressure, neck injuries, recent head injury, and some heart conditions. Ask your doctor if unsure.
Before you start
Inversions reverse the usual relationship between head and heart. Gentle ones feel calming for many people, and full inversions build strength and body awareness. Popular claims that inversions "detox" the body or send fresh blood to the brain are not well supported. The body regulates blood flow to the brain closely in any position, so it is better to practice inversions for their own sake than for promised health effects.
Who should avoid full inversions
Poses that put the head well below the heart and hold it there (shoulder stand, plow, headstand, forearm stand) raise pressure in the head and eyes and load the neck or shoulders. Skip them, and check with a doctor, if any of these apply:
- Glaucoma, detached retina, recent eye surgery or other conditions affecting eye pressure
- Uncontrolled high blood pressure, or a history of stroke
- Heart conditions where your doctor has advised against straining or head-down positions
- Neck injury, cervical disc problems, or osteoporosis or osteopenia in the spine
- Recent concussion or head injury, or a tendency to dizziness or fainting
- Shoulder injuries that make weight bearing painful
- Pregnancy, unless you already have an established inversion practice and your health professional and teacher agree
Many teachers also suggest that people who are menstruating may prefer to skip inversions. This is a matter of personal choice rather than a medical rule. For more detail, see Practicing Safely.
Principles for inverting
- Protect the neck. The cervical spine is not built to carry body weight. In headstand the arms carry most of the load; in shoulder stand a folded-blanket platform keeps the neck from flattening against the floor.
- Never turn the head while weight is on the head, neck or shoulders.
- Build strength first. Downward Dog and Dolphin train the shoulders to stay lifted and stable.
- Come out before you are tired. Most strain happens when form fades. A short, steady hold is better than a long, shaky one.
- Rest afterward. After a full inversion, rest in Child's Pose for a few breaths before sitting or standing up.
Downward-Facing Dog
Adho Mukha Svanasana AH-doh MOO-kuh shvah-NAHS-uh-nuh
- Meaning
- Downward-facing dog pose
- Level
- Beginner
- Hold
- 5–10 breaths
- Works
- Shoulders, arms, hamstrings, calves, spine length
Downward-Facing Dog forms an upside-down V, with the hips high and the head between the arms. It is a mild inversion, a hamstring and calf stretch and a shoulder strengthener in one. It is a transitional pose in most flowing classes, including the Sun Salutation.
How to do it
- Start on hands and knees, with hands slightly in front of the shoulders and knees under the hips.
- Spread the fingers and press evenly through the whole hand, especially the base of the index finger and thumb.
- Tuck the toes and lift the hips up and back, keeping the knees bent at first.
- Lengthen the spine by reaching the sitting bones up. Make a long back your priority over straight legs.
- Straighten the legs as far as you can while keeping the back long, and let the heels move toward the floor.
- Firm the upper arms and broaden between the shoulder blades, with the head relaxed between the arms.
- Breathe steadily, then lower the knees to come out.
Common mistakes
- Rounding the back to force the heels down
- Sinking into the shoulders with the chest collapsing toward the floor
- Hands too close to the feet, creating a short, cramped shape
Make it easier
- Keep the knees generously bent
- Place the hands on blocks
- Practice with hands on a wall or table for a standing version
Go further
- Lift one leg (three-legged dog) while keeping the hips square
- Hold for 1–2 minutes with steady breath
Skip or modify if: you have wrist or shoulder pain (use blocks or forearms), uncontrolled high blood pressure or eye pressure problems (keep the head higher, for example with hands on a wall), or are in late pregnancy.
Dolphin Pose
Ardha Pincha Mayurasana AR-duh PIN-chuh my-oor-AHS-uh-nuh
- Meaning
- Half feathered peacock pose
- Level
- Intermediate
- Hold
- 5–8 breaths, 2–3 rounds
- Works
- Shoulders, upper back, core, hamstrings
Dolphin is Downward Dog on the forearms. It builds shoulder strength and opens the shoulders for overhead positions, which makes it the main preparation for forearm stand and headstand. Many people find it much harder than Downward Dog.
How to do it
- Start on hands and knees, then lower onto the forearms with elbows directly under the shoulders.
- Keep the forearms parallel with palms flat, or clasp the hands if parallel arms are too hard.
- Tuck the toes and lift the hips, walking the feet a little toward the elbows.
- Press the forearms down and lift the shoulders away from the floor so the chest does not sag.
- Keep the knees bent if needed to lengthen the spine.
- Let the head hang freely, off the floor, with the neck relaxed.
- Lower the knees to rest between rounds.
Common mistakes
- Elbows sliding out wider than the shoulders
- Head resting on or pressing into the floor
- Shoulders collapsing toward the ears
Make it easier
- Loop a strap just above the elbows to keep them shoulder-width
- Keep the knees bent and the feet further back
Go further
- Walk the feet closer to the elbows while keeping the back long
- Lift one leg at a time, as preparation for forearm stand
Skip or modify if: you have a shoulder injury, glaucoma or uncontrolled high blood pressure (the head is below the heart), or neck pain.
Legs-Up-the-Wall
Viparita Karani vip-uh-REE-tuh kuh-RAH-nee
- Meaning
- Inverted action
- Level
- Beginner
- Hold
- 5–15 minutes
- Works
- Gentle hamstring release, relaxation, tired legs
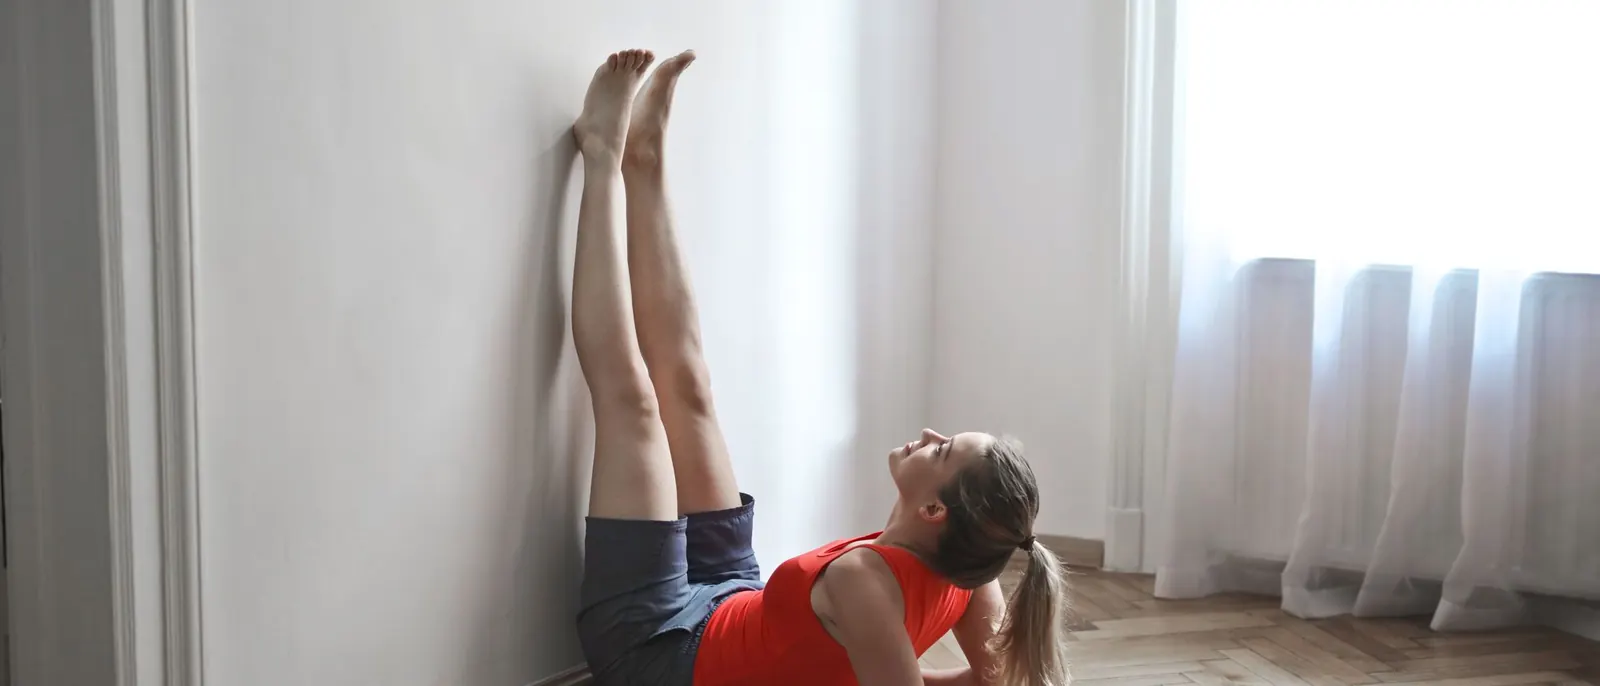
Legs-Up-the-Wall is a passive inversion: you lie on your back with your legs resting vertically against a wall. Because the head stays level with the floor and nothing is loaded, it is suitable for most people. Many find it helps them wind down at the end of a day or a practice. In Hatha texts, Viparita Karani also names a more active technique; the wall version is its modern restorative form.
How to do it
- Sit sideways with one hip against the wall and your knees bent.
- Lean back onto your forearms and swing your legs up the wall as you lower onto your back.
- Shuffle your buttocks close to the wall, or a few inches away if your hamstrings are tight.
- Let the legs rest against the wall, hip-width apart, with the knees soft.
- Rest the arms on the floor, palms up, and let the shoulders settle.
- Close your eyes and breathe slowly through the nose.
- To come out, bend the knees, roll to one side and rest there before sitting up.
Common mistakes
- Forcing the buttocks to touch the wall with tight hamstrings
- Holding the legs up with effort rather than letting the wall carry them
- Sitting up quickly at the end
Make it easier
- Move further from the wall
- Rest the calves on a chair seat instead, knees bent
- Put a folded blanket under the head
Go further
- Place a folded blanket or low bolster under the pelvis for a slightly deeper inversion
- Let the legs open into a wide V or bring the soles together
Skip or modify if: you have glaucoma or eye pressure problems (avoid the raised-pelvis version), are in later pregnancy and uncomfortable on your back, or your legs tingle or go numb (bend the knees or come out).
Supported Shoulder Stand
Salamba Sarvangasana sah-LAHM-buh sar-vahn-GAHS-uh-nuh
- Meaning
- Supported all-limbs pose
- Level
- Intermediate
- Hold
- 10–20 breaths
- Works
- Shoulders, upper back, core, legs
In shoulder stand the body rises vertically from the shoulders, supported by the hands on the back. It is a traditional pose, and B.K.S. Iyengar gave it a central place in Light on Yoga (1966). It also bends the neck strongly forward, so a folded-blanket platform under the shoulders and teacher guidance are strongly recommended.
How to do it
- Stack two or three firmly folded blankets. Lie with your shoulders on the blankets about two inches from the folded edge and your head on the floor.
- Bend the knees, feet flat, arms alongside the body.
- Press the arms down, swing the knees toward the chest and lift the hips. Bring the hands to the back.
- Walk the hands up the back toward the shoulder blades and draw the elbows in toward shoulder-width.
- Straighten the legs up, one at a time, reaching the feet toward the ceiling.
- Keep the weight on the shoulders and upper arms with space under the back of the neck. Keep the head still and look toward your chest.
- To come down, bend the knees, lower the hips slowly with the hands supporting the back, and rest on your back.
Common mistakes
- Practicing flat on the floor, which pushes the neck into a sharp bend
- Elbows splaying wide so the weight slides onto the neck
- Turning the head or talking while in the pose
Make it easier
- Practice Legs-Up-the-Wall instead
- Use a wall: walk the feet up it to lift the hips, keeping the knees bent
- Keep the hips angled (half shoulder stand) rather than fully vertical
Go further
- Under teacher guidance, build the hold gradually toward a few minutes
- Refine the line so the hips stack over the shoulders
Skip or modify if: you have a neck injury, cervical disc problems or osteoporosis, glaucoma or other eye pressure problems, uncontrolled high blood pressure, a heart condition, or are pregnant. Learn this pose with a qualified teacher.
Plow Pose
Halasana hah-LAHS-uh-nuh
- Meaning
- Plow pose
- Level
- Intermediate
- Hold
- 5–10 breaths
- Works
- Hamstrings, back of the body, shoulders
Plow continues from shoulder stand by lowering the feet to the floor behind the head. It stretches the whole back of the body strongly and flexes the neck even further than shoulder stand. For that reason it needs the same blanket support and careful teaching.
How to do it
- Set up on folded blankets as for shoulder stand, and come into shoulder stand or a half shoulder stand.
- Keep the hands supporting the back and exhale as you lower the feet slowly behind the head.
- If the toes reach the floor, tuck them and lift the thighs to lengthen the spine. If not, rest the feet on a chair or blocks.
- Keep the hips lifted over the shoulders and the weight off the neck.
- Keep the head still and the throat soft. Breathe slowly.
- To come out, return the hands to the floor, bend the knees and roll down slowly, one section of the spine at a time.
Common mistakes
- Dropping the legs quickly and jolting the neck
- Rounding heavily through the upper back so the weight moves onto the neck
- Holding the breath
Make it easier
- Rest the feet on a chair seat or stacked blocks
- Keep the knees bent
Go further
- Interlace the hands on the floor behind the back
- Under guidance, bring the knees beside the ears (Karnapidasana)
Skip or modify if: you have a neck or back injury, osteoporosis, glaucoma, uncontrolled high blood pressure, heart problems, are pregnant, or feel pressure in the head or throat. Learn this pose with a qualified teacher.
Supported Headstand
Salamba Sirsasana sah-LAHM-buh sheer-SHAHS-uh-nuh
- Meaning
- Supported head pose
- Level
- Advanced
- Hold
- 5–10 breaths, built up gradually
- Works
- Shoulders, arms, core, balance
In supported headstand the forearms form a tripod with the head, and the body balances vertically above. Iyengar called it the king of asanas in Light on Yoga, and it has a long place in many traditions. It is also the pose with the most potential to strain the neck. The forearms and shoulders should carry most of the weight, with only light contact through the crown.
How to do it
- Kneel and place the forearms on the mat, elbows shoulder-width apart. Interlace the fingers to form a triangle.
- Place the crown of the head on the floor, with the back of the head cupped by the hands.
- Press the forearms firmly down and lift the shoulders away from the floor, as in Dolphin.
- Straighten the legs and walk the feet in until the hips are over the shoulders.
- Bend one knee toward the chest, then the other. Pause here with control.
- Only if the shoulders stay lifted, extend the legs slowly toward the ceiling. Do not jump or kick up.
- Come down with control, the same way you went up, and rest in Child's Pose for several breaths.
Common mistakes
- Jumping or kicking up with momentum
- Letting the shoulders collapse so the head takes the weight
- Elbows sliding wider than the shoulders
Make it easier
- Stay in Dolphin, or in the preparation with feet on the floor
- Practice at a wall with a teacher present, knuckles a few inches from the wall
Go further
- Under guidance, practice away from the wall
- Build the hold gradually over weeks
Skip or modify if: you have any neck injury or cervical disc problem, osteoporosis, glaucoma or detached retina, uncontrolled high blood pressure, a heart condition, recent head injury, or are pregnant. Learn this pose with a qualified teacher.
Forearm Stand
Pincha Mayurasana PIN-chuh my-oor-AHS-uh-nuh
- Meaning
- Feathered peacock pose
- Level
- Advanced
- Hold
- 5–10 breaths
- Works
- Shoulders, arms, upper back, core, balance
Forearm stand balances the body vertically on the forearms, with the head off the floor. The neck bears no weight, but the pose needs strong, open shoulders and good core control. Falling out is a real risk, so it is usually learned at a wall with a teacher.
How to do it
- Kneel facing a wall and place the forearms on the mat, parallel and shoulder-width apart, fingertips a few inches from the wall.
- Tuck the toes and lift into Dolphin, walking the feet in toward the elbows.
- Press the forearms down and lift the shoulders strongly away from the floor.
- Keep the head lifted off the floor, with the gaze between the hands.
- Lift one leg high and, with a small controlled hop, bring both heels to the wall.
- Draw the ribs in and lengthen through the legs, reducing reliance on the wall over time.
- Come down one leg at a time and rest in Child's Pose.
Common mistakes
- Elbows splaying wide, which collapses the shoulders
- Arching heavily through the low back with the ribs flaring
- Big kicks that slam the feet into the wall
Make it easier
- Stay in Dolphin with one leg lifted
- Use a strap above the elbows and a block between the hands
Go further
- Take one heel away from the wall, then both
- Practice in the middle of the room with a spotter
Skip or modify if: you have shoulder, elbow or neck injuries, glaucoma, uncontrolled high blood pressure, a heart condition, or are pregnant. Learn this pose with a qualified teacher.
Sequencing inversions
Practice inversions when the body is warm but not exhausted, usually in the middle or toward the end of a session. Traditional sequences often place headstand before shoulder stand and plow, and follow shoulder stand with a gentle backbend such as Bridge or Supported Fish to release the neck. Rest briefly after each full inversion before moving on.
If you are new, a sequence built around the accessible poses gives you most of what inversions offer, with little risk. Add Dolphin once Downward Dog feels steady, and leave the full inversions until you can learn them in person.
A 15-minute practice with gentle inversions
- 2 minCat and cowWarm the spine and wrists.
- 2 minDownward-Facing DogTwo holds of 5–10 breaths, knees bent as needed.
- 1 minChild's PoseRest the arms and shoulders.
- 2 minDolphin PoseTwo or three short rounds; skip if new to inversions.
- 1 minChild's PoseLet the head settle before lying down.
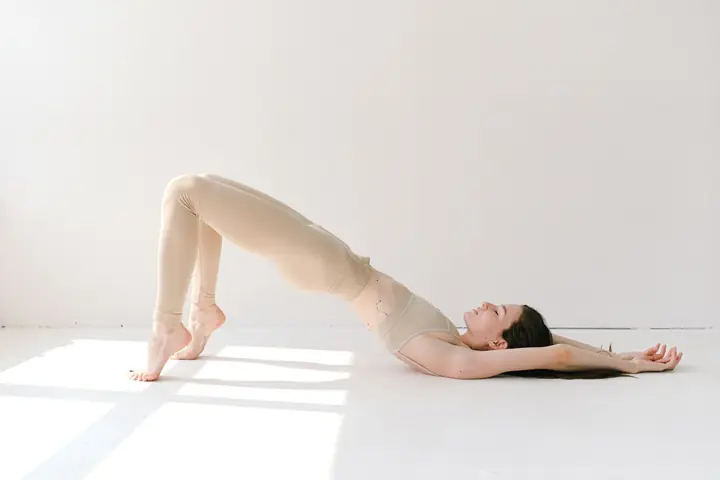
- 2 minBridge PoseTwo rounds, to open the chest before the final rest.
- 5 minLegs-Up-the-WallEyes closed, slow breathing, roll to one side to come out.