In short
- Seated poses stretch the hamstrings, hips and back and give a steady base for breathing and meditation.
- The single most useful prop is a folded blanket or cushion under the sit bones, which tilts the pelvis forward and makes a long spine possible.
- In forward folds, move from the hips and keep the spine long. How far you fold matters much less than how you fold.
- Knees are the joint to protect here. Never force a knee toward the floor or into a deep bend.
Before you start
Seated poses feel gentle, but cold hamstrings and hips do not like being stretched. Practice them after standing poses or a few Sun Salutations, or at least after a few minutes of walking, cat-cow on hands and knees and gentle leg swings. Have a folded blanket, two blocks and a strap within reach. See Mats & Props.
Alignment principles for this family
- Sit on top of the sit bones. If the lower back rounds and the pelvis tips backward when you sit upright, raise the hips on a folded blanket or block until the lower back can find its natural curve.
- Fold from the hips. Think of the pelvis tilting forward over the thighs, like a bowl tipping. The spine follows. Rounding from the upper back first compresses the front of the body and strains the back.
- Straight legs are optional. Bent knees in forward folds take tension off the hamstrings and let the pelvis move. A strap around the feet does the same job for the arms.
- Protect the knees. Rotation for cross-legged and bound-angle shapes should come from the hip joint. If the knee aches or pinches, support it with a block or blanket, or choose an easier variation.
- Stay with the breath. These poses respond to time. Several slow breaths with a relaxed face usually get you further than effort. Ease out if the breath becomes strained.
For how the pelvis and hamstrings interact, see Anatomy & Alignment.
Easy Pose
Sukhasana soo-KAHS-uh-nuh
- Meaning
- Pleasant or comfortable pose (sukha, ease, happiness)
- Level
- Beginner
- Hold
- 1–10 minutes
- Works
- Hips, posture, back muscles
Easy Pose is simple cross-legged sitting, used for breathing practice, meditation and the start or end of class. Its name refers to comfort, which for many adults depends on sitting on enough height. With the right support it is a relaxed, upright seat you can hold for several minutes.
How to do it
- Sit on the front edge of a folded blanket or cushion, high enough that the knees are level with or below the hips.
- Cross the shins, with each foot beneath the opposite knee or shin.
- Let the knees relax out and down. Support them with blocks if they float high.
- Press lightly down through the sit bones and lengthen the spine up.
- Rest the hands on the thighs or knees, shoulders relaxed.
- Keep the chin level and the back of the neck long.
- Switch the cross of the legs halfway through longer sits.
Common mistakes
- Sitting flat on the floor with the lower back rounding.
- Knees much higher than the hips.
- Always crossing the same leg in front.
Make it easier
- Sit higher, on a block or two blankets.
- Sit with the back against a wall.
- Sit on a chair with the feet flat.
Go further
- Gradually reduce the height of the support.
- Extend the time to 15–20 minutes for meditation.
Skip or modify if: you have knee or hip injuries; sit higher, place blocks under the knees, or sit on a chair.
Staff Pose
Dandasana dahn-DAHS-uh-nuh
- Meaning
- Staff or stick pose (danda, staff)
- Level
- Beginner
- Hold
- 5–10 breaths
- Works
- Back muscles, quadriceps, hamstrings, posture
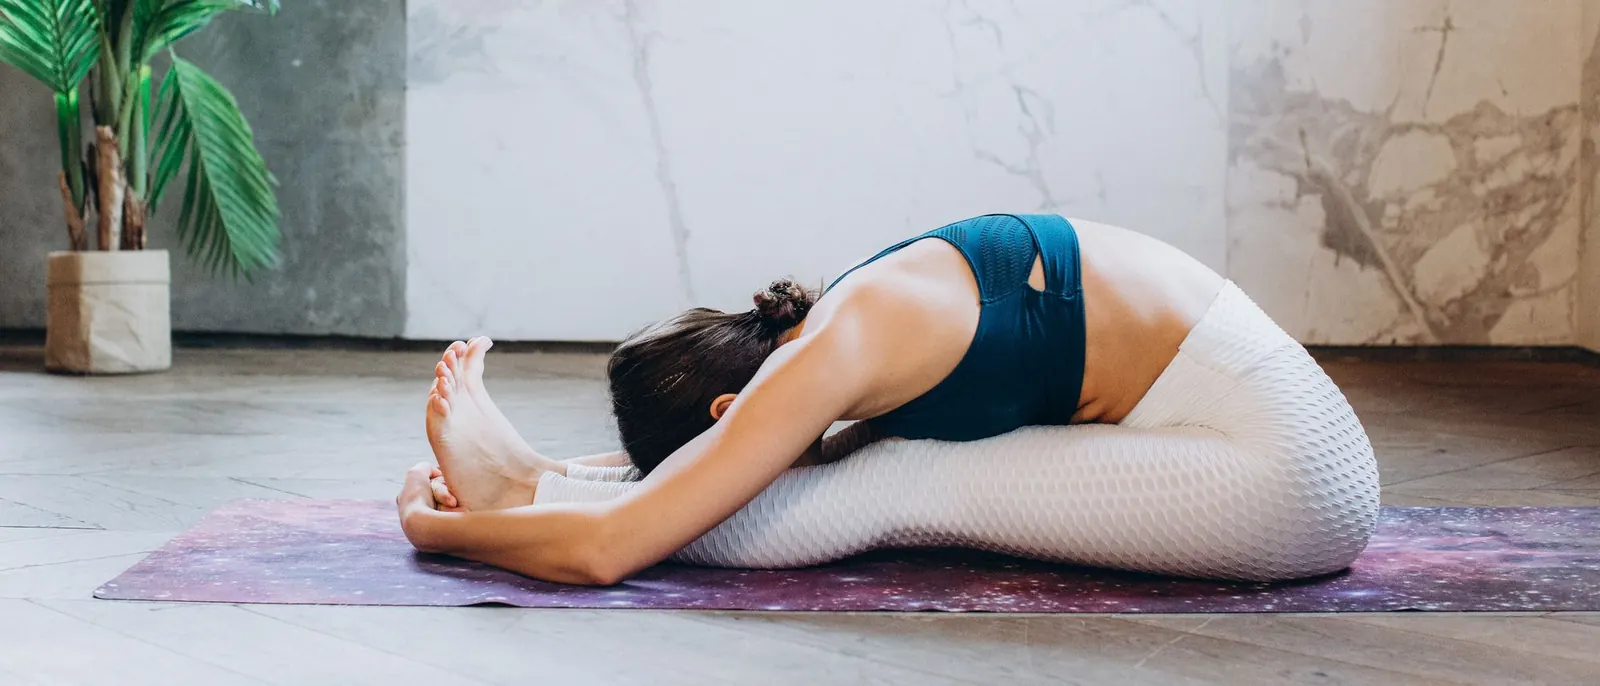
Staff Pose is sitting upright with both legs straight out in front. It plays the same role for seated work that Mountain Pose plays for standing poses. It is also a quick test of hamstring length, because tight hamstrings pull the pelvis back and round the spine.
How to do it
- Sit with the legs extended forward, feet hip-width or together.
- If the lower back rounds, sit on a folded blanket.
- Flex the feet so the toes point up, and press the backs of the thighs down.
- Firm the thighs and gently reach through the heels.
- Place the fingertips on the floor or blocks beside the hips.
- Lengthen up through the spine, shoulders over the hips, collarbones broad.
- Keep the chin level and breathe evenly.
Common mistakes
- Slumping onto the back of the pelvis.
- Leaning back on the hands.
- Locking the knees hard into the floor.
Make it easier
- Sit on a blanket.
- Bend the knees slightly, with a rolled blanket under them.
- Sit with the back against a wall.
Go further
- Lift the arms overhead while keeping the spine long.
- Press the palms down and lift the hips a little to build arm and core strength.
Skip or modify if: you have lower-back pain or wrist problems; sit on height, bend the knees and rest the hands on the thighs.
Seated Forward Fold
Paschimottanasana POSH-ee-moh-tahn-AHS-uh-nuh
- Meaning
- Intense stretch of the west, meaning the back of the body (paschima, west)
- Level
- Beginner
- Hold
- 8–15 breaths, up to 3 minutes
- Works
- Hamstrings, calves, back muscles
From Staff Pose, the torso folds forward over both legs. The pose stretches the entire back of the body. Traditional practice faced the east at sunrise, so the back of the body was "the west," which explains the name. Many people find it calming when held with an easy breath.
How to do it
- Sit in Staff Pose on a folded blanket if needed.
- Inhale and lengthen the spine, raising the arms if you like.
- Exhale and tip the pelvis forward, folding from the hips.
- Hold the shins, ankles or feet, or loop a strap around the soles of the feet.
- Keep the front of the body long, leading with the chest rather than the head.
- Bend the knees as much as needed so the stretch is felt in the hamstrings, not the lower back.
- On each inhale lengthen slightly. On each exhale fold a little more if it comes easily. Rise slowly.
Common mistakes
- Pulling hard with the arms to force the head toward the knees.
- Rounding only the upper back while the pelvis stays tilted back.
- Holding the breath.
Make it easier
- Sit high and bend the knees over a rolled blanket.
- Use a strap around the feet.
- Rest the forehead on a bolster laid on the legs.
Go further
- Take hold of the outer edges of the feet or clasp the wrists beyond the soles.
- Stay for 2–3 minutes with the spine relaxed, as in a Yin-style hold.
Skip or modify if: you have a disc injury, sciatica or a hamstring tear; keep the spine long, knees bent, and fold only slightly, or skip it.
Bound Angle Pose
Baddha Konasana BAH-duh koh-NAHS-uh-nuh
- Meaning
- Bound angle pose (baddha, bound; kona, angle). Also called Butterfly or Cobbler's Pose
- Level
- Beginner
- Hold
- 8–15 breaths, up to 3 minutes
- Works
- Inner thighs, groin, hips
The soles of the feet press together and the knees drop out to the sides. The pose stretches the inner thighs and groin and trains the hips to rotate outward. It can be done upright or with a forward fold.
How to do it
- Sit on a folded blanket and bring the soles of the feet together, knees bending out to the sides.
- Draw the heels in as far as comfortable. Further away is easier on the knees and hips.
- Hold the ankles or shins, or open the feet like a book with the thumbs.
- Sit tall on the sit bones, spine long.
- Let the knees relax down under their own weight. Do not push them.
- Place blocks under the knees if they float high or the inner thighs strain.
- To fold, hinge forward from the hips with a long spine, then release out of the pose by bringing the knees together.
Common mistakes
- Pressing the knees down with the hands or elbows.
- Rounding the lower back with the pelvis tipped back.
- Bouncing the knees.
Make it easier
- Sit higher and move the feet further from the body.
- Support each knee with a block.
- Practice lying down (Reclined Bound Angle).
Go further
- Draw the heels closer to the pelvis.
- Fold forward from the hips with the elbows resting lightly on the shins.
Skip or modify if: you have a groin or knee injury, or pelvic girdle pain in pregnancy; support the knees well and keep the feet further forward.
Head-to-Knee Pose
Janu Sirsasana JAH-noo sheer-SHAHS-uh-nuh
- Meaning
- Knee-head pose (janu, knee; sirsa, head)
- Level
- Beginner
- Hold
- 8–10 breaths per side
- Works
- Hamstrings, inner thigh, side body, back
One leg extends forward and the other bends with the foot against the inner thigh, then the torso folds over the straight leg. Working one leg at a time is often easier than the full Seated Forward Fold, and it shows differences between the two sides. The name describes the finished shape, and the head reaching the knee is not the goal.
How to do it
- Sit in Staff Pose on a folded blanket.
- Bend the left knee and place the sole of the left foot against the inner right thigh, knee relaxing out to the side.
- Turn the torso slightly so the navel faces the center of the right leg.
- Inhale and lengthen the spine.
- Exhale and fold from the hips over the right leg, holding the shin, foot or a strap.
- Keep the right foot flexed and the back of the right knee soft. Bend it if the hamstring pulls sharply.
- Relax the neck once you reach your comfortable depth. Rise on an inhale and repeat on the other side.
Common mistakes
- Folding toward the center instead of over the extended leg.
- Forcing the bent knee toward the floor.
- Hunching the shoulders while pulling on the foot.
Make it easier
- Support the bent knee with a block.
- Bend the straight leg over a rolled blanket.
- Use a strap around the foot.
Go further
- Clasp the wrist beyond the foot.
- Try Revolved Head-to-Knee (Parivrtta Janu Sirsasana), a side bend over the leg.
Skip or modify if: you have a knee injury in the bent leg, a disc problem or a hamstring strain; keep the spine upright and the bent knee supported.
Seated Twist
Ardha Matsyendrasana AR-duh mot-see-en-DRAHS-uh-nuh
- Meaning
- Half lord of the fishes pose, named for the yogi Matsyendra, a founding figure in the hatha tradition
- Level
- Beginner
- Hold
- 5–10 breaths per side
- Works
- Spinal rotation, outer hips, back and side body
This is the classic seated twist, with one knee bent and crossed over the other leg while the torso turns toward it. It rotates the spine through its length and stretches the outer hip. The twist should come from the whole spine turning evenly, with most of the rotation in the chest rather than the lower back or neck.
How to do it
- Sit in Staff Pose on a folded blanket.
- Bend the right knee and place the right foot on the floor outside the left knee.
- Keep the left leg straight, or bend it and tuck the left heel beside the right hip.
- Place the right hand on the floor behind you, close to the sacrum.
- Inhale and lengthen the spine, lifting the left arm.
- Exhale and turn to the right, hugging the right knee with the left arm or hooking the left elbow outside it.
- Keep both sit bones grounded. Lengthen on each inhale and turn a little on each exhale, then unwind and repeat on the other side.
Common mistakes
- Collapsing into the back hand and rounding the spine.
- Levering hard with the arm to crank the twist.
- Leading with the chin and straining the neck.
Make it easier
- Sit higher and keep the bottom leg straight.
- Hug the knee with the arm instead of hooking the elbow.
- Practice seated sideways on a chair.
Go further
- Hook the elbow outside the knee with the forearm upright.
- Take a bind, reaching the lower arm under the knee to clasp the other hand behind the back.
Skip or modify if: you have a disc injury, sacroiliac pain or are pregnant; twist gently from the upper back only, or choose an open twist away from the belly.
Cow Face Pose
Gomukhasana go-moo-KAHS-uh-nuh
- Meaning
- Cow face pose (go, cow; mukha, face), after the shape made by the stacked knees
- Level
- Intermediate
- Hold
- 5–10 breaths per side
- Works
- Outer hips, shoulders, triceps, chest
The knees stack one above the other while the hands reach to meet behind the back, one from above and one from below. It stretches the outer hips and both shoulders at once, and it often shows clear differences between the two sides. The legs and arms can be practiced separately.
How to do it
- Sit on a folded blanket or block. From hands and knees, cross the right knee in front of the left and sit back between the feet, or cross the legs from a seated position.
- Stack the right knee over the left, feet beside the opposite hips, and settle evenly on both sit bones.
- Raise the left arm, bend the elbow and let the left hand fall between the shoulder blades.
- Reach the right arm out, internally rotate it, bend the elbow and slide the back of the right hand up the spine.
- Clasp the fingers, or hold a strap between the hands.
- Keep the head upright, the top elbow pointing up and the ribs drawn in.
- Breathe evenly, then release and repeat with legs and arms switched.
Common mistakes
- Sitting unevenly with one hip lifted.
- Pushing the head forward to make the hands meet.
- Arching the lower back and flaring the ribs.
Make it easier
- Sit on a block or two blankets.
- Keep the bottom leg straight and cross only the top leg.
- Use a strap between the hands.
Go further
- Fold forward from the hips over the stacked knees.
- Clasp the hands without a strap.
Skip or modify if: you have knee or shoulder injuries; practice arms only on a chair, or legs only with a straight bottom leg.
Hero Pose
Virasana veer-AHS-uh-nuh
- Meaning
- Hero pose (vira, hero)
- Level
- Beginner
- Hold
- 1–5 minutes
- Works
- Quadriceps, knees, ankles, tops of the feet, posture
In Hero Pose you kneel and sit between the heels. It stretches the thighs, knees and ankles and gives an upright alternative to cross-legged sitting. It is suitable for beginners only when sitting on enough height, which for most adults means a block.
How to do it
- Kneel with the knees together and the feet slightly wider than the hips, tops of the feet on the floor.
- Place a block between the feet, at whatever height allows the knees to feel comfortable.
- With the hands, draw the calf muscles back and out, then sit down on the block.
- Check that the feet point straight back, not flaring out, with the toes pointing back.
- Sit tall with the pelvis upright, spine long.
- Rest the hands on the thighs, shoulders relaxed.
- To exit, lean forward onto the hands, tuck the toes and straighten the legs one at a time.
Common mistakes
- Sitting on the floor when the knees are not ready.
- Feet turned out so the sit bones rest on the heels.
- Staying through knee pain.
Make it easier
- Sit on two stacked blocks or a bolster.
- Roll a thin towel under the ankles.
- Place a folded blanket behind the knees to reduce the bend.
Go further
- Lower the block over weeks.
- Sit on the floor, then try Reclining Hero (Supta Virasana) with a bolster behind you.
Skip or modify if: you have knee or ankle injuries, or feel any pain inside the knee; sit higher or choose Easy Pose instead.
Sequencing seated poses
Seated poses usually come in the second half of a practice, after standing poses have warmed the legs. Start with upright shapes that prepare the pelvis, then move to single-leg folds, then to the symmetrical fold, and place twists near the end, where they neutralize the spine after forward bending. Easy Pose or Hero Pose makes a natural transition into breathwork or meditation.
This mini-sequence takes about 15 minutes. Keep the blanket under the hips throughout.
- 2 minEasy PoseSettle the breath. Switch the cross of the legs halfway.
- 1 minStaff PoseFeet flexed, spine long, hands beside the hips.
- 2 minBound Angle PoseUpright first, then a gentle fold.
- 3 minHead-to-Knee PoseAbout 10 breaths each side.
- 2 minSeated Forward FoldKnees bent as needed, strap around the feet.
- 2 minCow Face Pose5–8 breaths each side, strap for the arms.
- 2 minSeated Twist5–8 breaths each side.
- 1 minHero PoseOn a block. Sit quietly before lying down.
Follow this with a few minutes in Corpse Pose, or continue into the restorative shapes on Restorative Poses.
Related pages
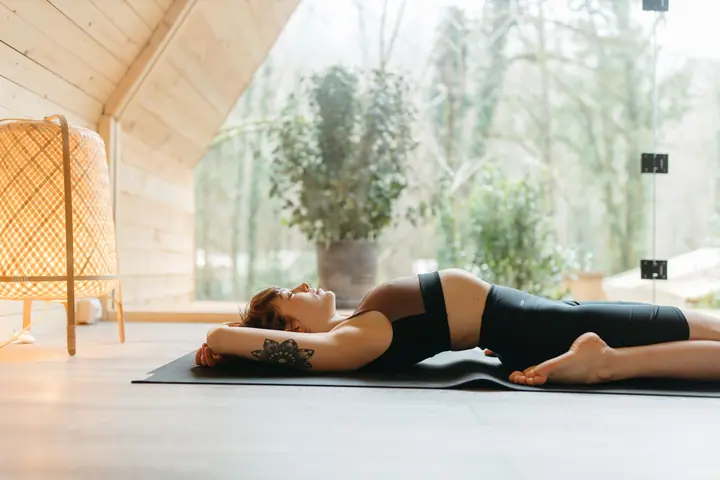 PosesRestorative PosesSupported versions of these shapes for longer, quieter holds.
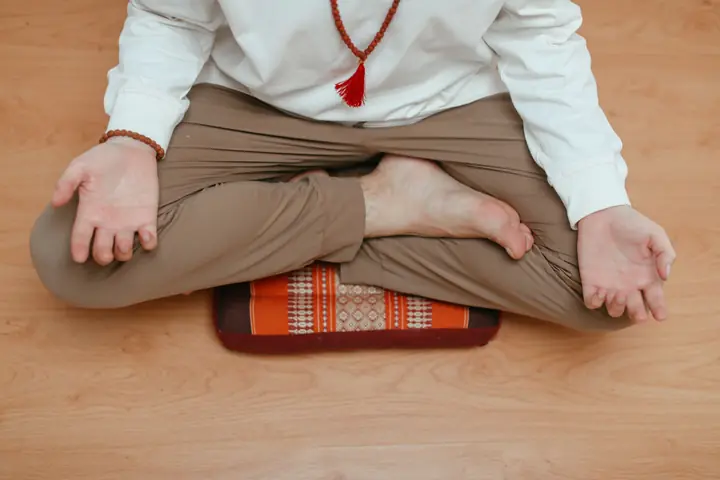 Breath & MindMeditationHow to use a comfortable seat for simple meditation methods.
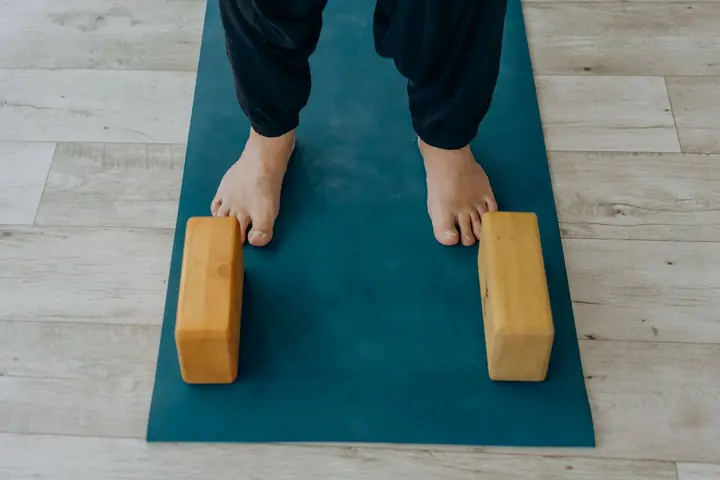 StartMats & PropsBlankets, blocks and straps, and how they change seated poses.
 PosesStanding PosesThe warm-up family that prepares the legs for seated folds.